Getting Started
The basics of getting started with Poetix: story, scenes, the canvas, and beat basics
Finding your way around a story#
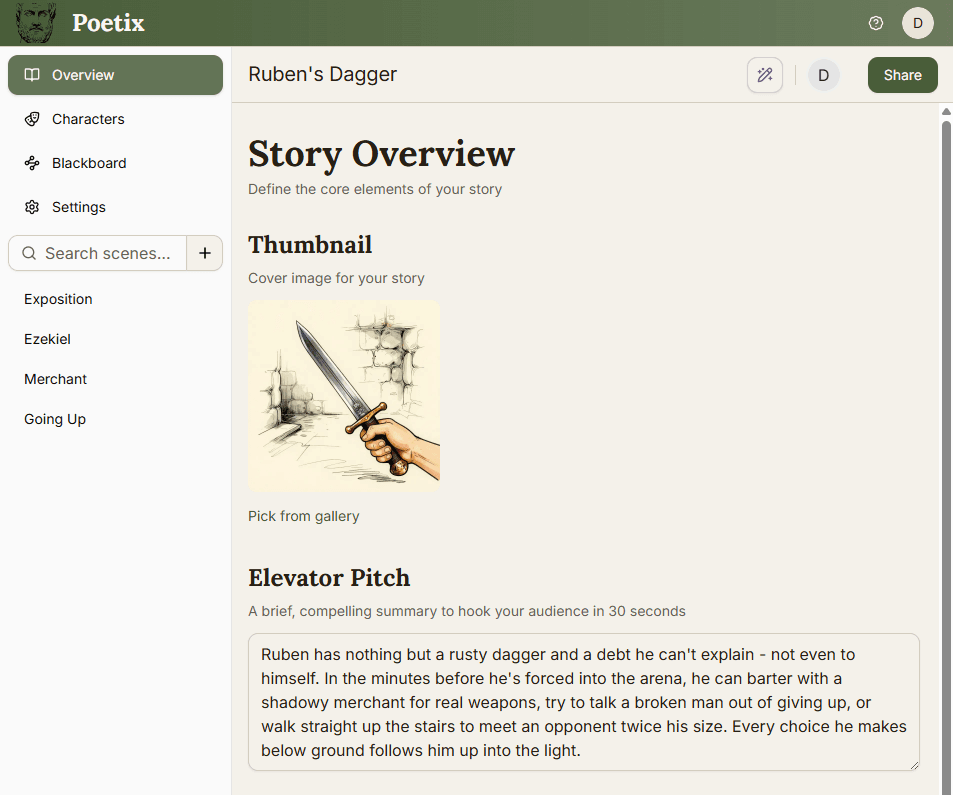
Every story opens with the same sidebar. Overview is your story's cover page - more on it below. Characters and Blackboard are covered in their own guides. Settings covers story-level configuration. Below that sits the scene list - use the search bar to find one, or use the to add another.
Setting up your story#
The Story Overview page holds four fields: a Thumbnail cover image, an Elevator Pitch (a 30-second hook), a Logline (one sentence capturing the story), and a Synopsis (the full plot and themes). You can fill these in you want to - Poetix' AI Co-Writer uses them to understand your story.
Scenes#
A scene is a container that groups related beats together. Every story starts with one; add more scenes as your story grows. Scenes are purely organizational - a player choice can route to a beat in a different scene just as easily as one in the same scene.
The canvas and beat basics#
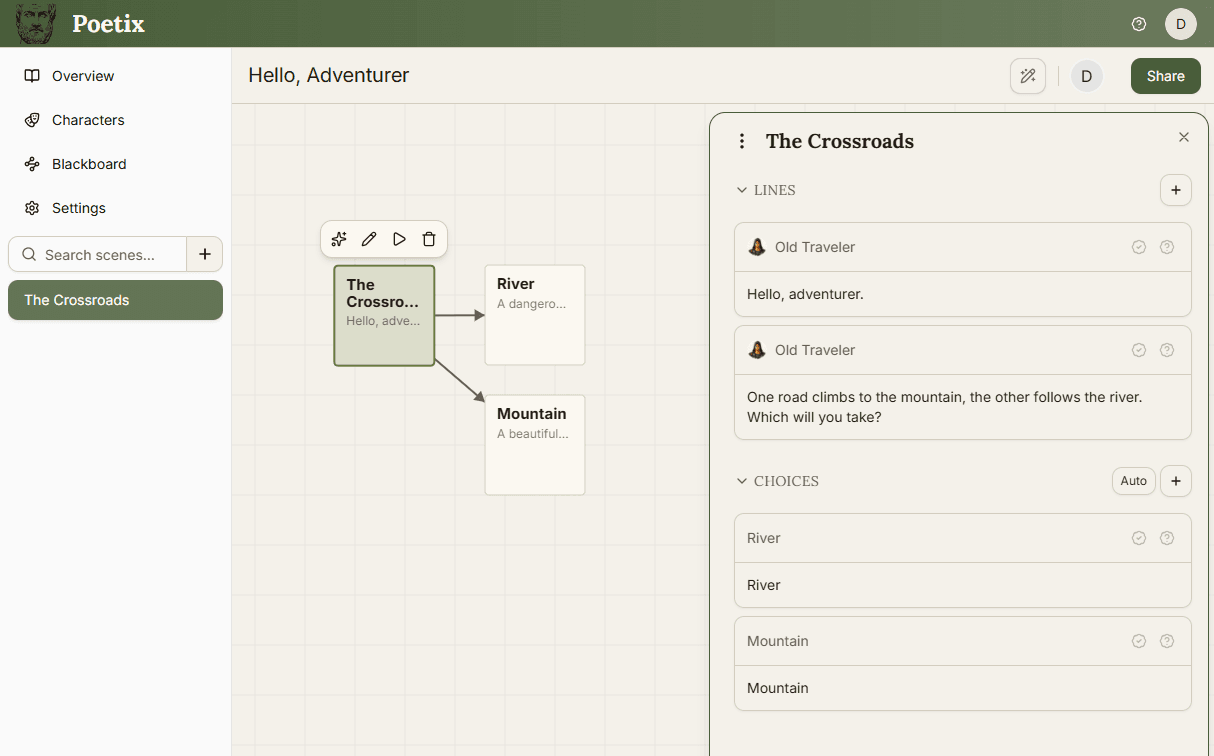
Each scene opens onto a canvas where beats live as cards. Drag an empty part of the canvas to pan, and scroll to zoom. To add a beat, click the button in the bottom-left or double-click an empty area.
Click a beat to select it and reveal its toolbar - ask AI, edit, test, or delete. Click the edit icon (or double-click the beat) to open its editor on the right, with two sections: Lines (dialogue played in order) and Choices (options the player picks between, each routing to another beat). The example below has two lines of dialogue and two choices - River and Mountain - each connecting to its own beat on the canvas.
Your first branching story#
Add a beat and write one line. Add two choices, each pointing at a new beat - give each ending its own line, and you have a working branch.
For the full mental model behind beats, lines, and choices, see Branching with Beats & Choices.